What is 3D Printing?
3D printing, also known as Additive Manufacturing, is the process of creating a three-dimensional object from a digital file. The most common and accessible type for hobbyists is Fused Deposition Modeling (FDM). A simple way to understand FDM is the hot glue gun analogy: imagine a computer-controlled hot glue gun building an object layer by tiny layer. This workshop will focus exclusively on FDM printing because it's safer, cheaper to start, and materials are readily available.
A Brief History
The journey of 3D printing began in the early 1980s with Stereolithography (SLA), a process that uses UV light to cure liquid resin. Consumer-level FDM printing was largely popularized by the RepRap Project, an initiative to create an open-source, self-replicating 3D printer. Today, the technology has advanced incredibly, with machines like the Bambu Lab X1 series bringing high-speed, multi-color printing to consumers.
Step 1: Find Your Model
Before you can print anything, you need a digital model. These files typically come in STL or 3MF format. You have two main options for getting a model.
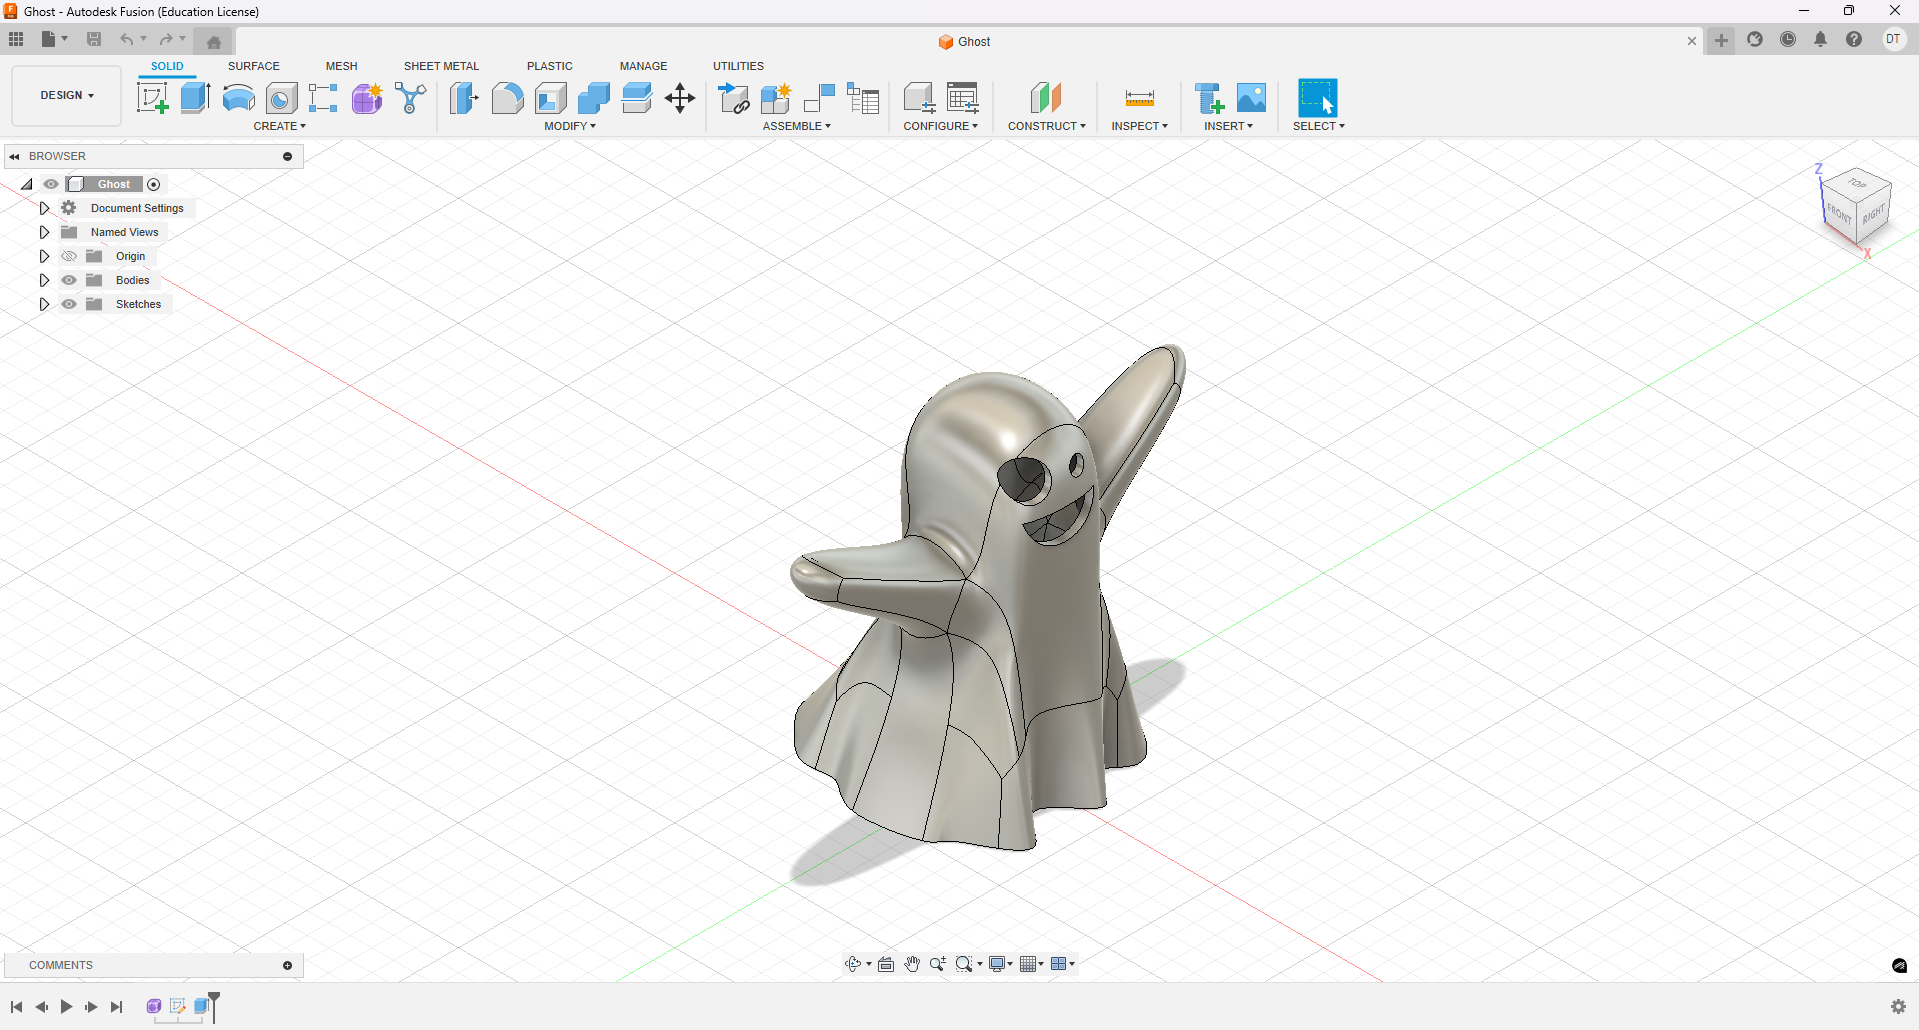
- Make it yourself: Using Computer-Aided Design (CAD) software like Fusion 360, Tinkercad, or Blender, you can design a model from scratch.
- Find one online: The easiest way to get started is to download a pre-made model from a community repository.
Popular Online Model Repositories
There are many places to find free and paid models. Here are some of the most popular:
Step 2: Slice Your Model
A 3D printer can't directly read an STL file. It needs a special set of instructions called G-Code. The process of converting your 3D model into G-Code is called "slicing." Slicer software takes your model and cuts it into hundreds or thousands of horizontal layers, generating a path for the printer nozzle to follow for each layer.
Recommended Slicer Software
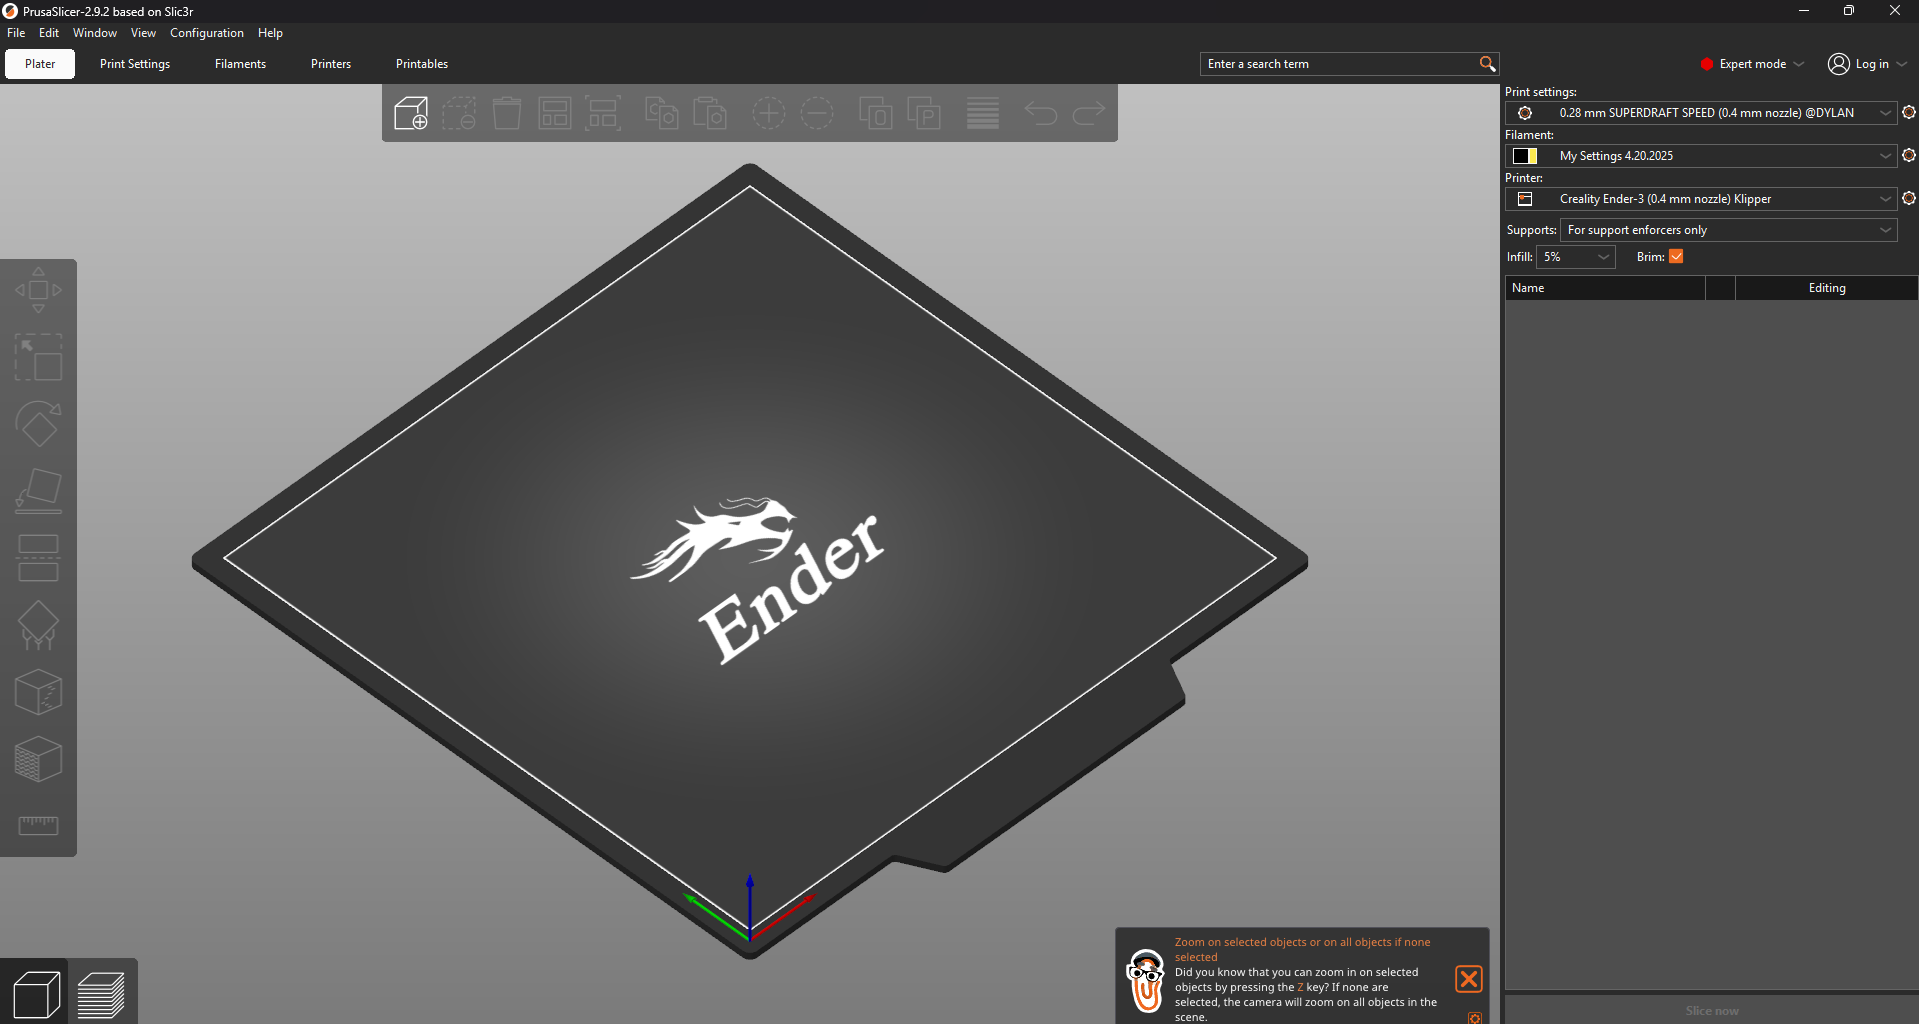
- PrusaSlicer: A powerful, feature-rich, and free slicer that works for almost any printer. It's highly recommended.
- Bambu Studio: The integrated slicer for Bambu Lab printers.
- Creality Print/Slicer: Often bundled with Creality printers, but can be challenging to use.
Choose Your Filament
The material you print with is just as important as the model. Here are some of the most common types:
| Filament | Description & Use Case |
|---|---|
| PLA (Polylactic Acid) | The most popular and easiest to print. It's biodegradable and great for beginners and cosmetic prints. |
| ABS (Acrylonitrile Butadiene Styrene) | A strong, durable, and heat-resistant filament. Ideal for functional parts that need to withstand stress. |
| PETG (Polyethylene Terephthalate Glycol) | Combines the ease of printing of PLA with the strength of ABS. Known for its transparency and water resistance. |
| TPU (Thermoplastic Polyurethane) | A flexible, rubber-like filament. Perfect for items that need to bend and stretch, like phone cases. |
| Nylon | A tough, durable material with excellent impact and abrasion resistance, good for functional parts like gears. |
Common PrusaSlicer Settings
Getting a great print is all about tuning your slicer settings. Here are some of the most important ones you'll encounter in PrusaSlicer:
| Setting | What it Does & Why it Matters |
|---|---|
| Layer Height | Controls the vertical resolution of your print. A smaller value (e.g., 0.12mm) creates a smoother, more detailed surface but takes much longer to print. A larger value (e.g., 0.28mm) prints faster but the layers will be more visible. |
| Infill (%) | Determines the density of the internal support structure. For decorative models, 10-15% is usually enough. For functional parts that need to be strong, you might use 25-50% or more. The pattern (e.g., Grid, Gyroid) also affects strength. |
| Supports | Generates removable structures to hold up parts of your model that would otherwise be printing in mid-air (overhangs). PrusaSlicer has great options like organic/tree supports that are often easier to remove and use less material. |
| Skirt & Brim | A Skirt is an outline printed around the model to prime the nozzle and ensure filament is flowing smoothly. A Brim is attached to the model's first layer to increase surface area, which is crucial for preventing warping and helping small parts stick to the print bed. |
| Print Speed | Controls how fast the print head moves. Printing too fast can lead to poor layer adhesion and ringing (ghosting) artifacts. It's often a trade-off between speed and quality. |
| Retraction | Quickly pulls the filament back when the nozzle is about to travel over an open space. This prevents unwanted "stringing" or "oozing" between different parts of your print. |
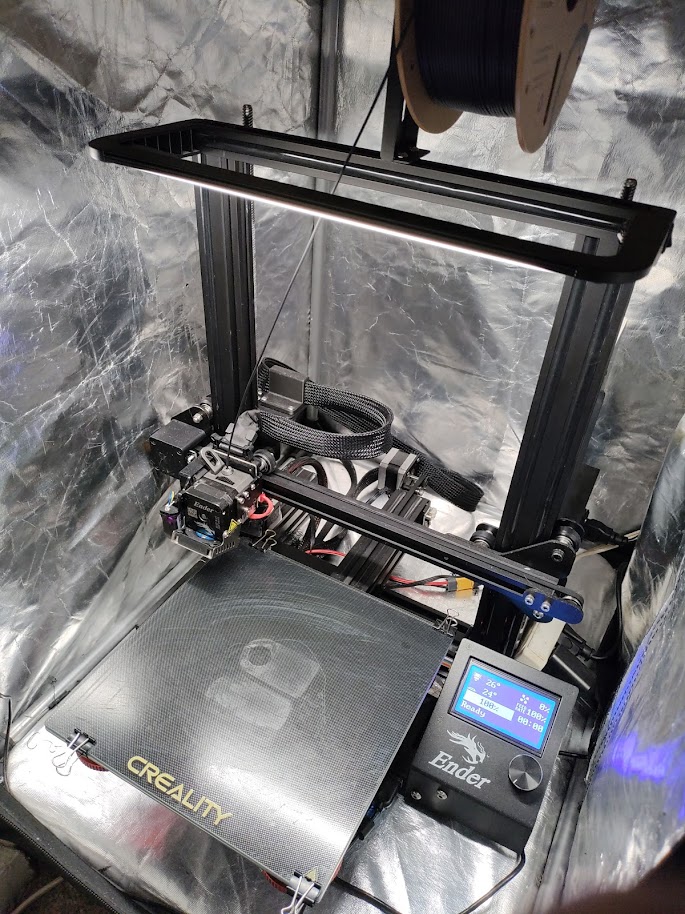
Step 3: The Printing Process
This is the most exciting (and spooky) step! Once your model is sliced, you take the G-Code file (usually on an SD card or sent over WiFi) and upload it to your printer. But before you hit "Print", you must always check your printer.
Pre-Print Checklist
- Clean Build Plate: Ensure the surface is clean from dust, oils, and old filament. A wipe with Isopropyl Alcohol (IPA) is often recommended.
- Clear Hotend Assembly: Check that the nozzle and heat block are free of any leaked plastic.
- Easy Movement: Make sure all belts and pulleys can move freely without obstruction.
- Good Lubrication: Ensure moving rods are properly lubricated.
The Critical First Layer
The first layer is the crux of the entire process. A bad first layer will almost certainly lead to a failed print. Getting it perfect—not too high, not too low—is key.

Image from the Prusa Knowledge Base.
Here are some helpful settings and tools to improve your first layer:
- Bed Adhesives: Using a glue stick or specialized adhesive can help the print stick to the bed.
- Brim: A single layer of filament printed around the base of your model to increase surface area and adhesion.
- Fade Height: A setting that gradually reduces the effects of leveling compensation over the first few layers.
Once your first couple of layers are done successfully, your print has a very high chance of finishing without issues.
Step 4: Inevitable Failures
Print failures happen to everyone. The key is to learn how to identify them so you can fix the root cause. Here are some of the most common failures.
First Layer & Foundational Failures
- Poor Bed Adhesion: The first layer fails to stick properly to the build plate.
- Warping: The corners of the print lift and curl upwards due to uneven cooling.
- Elephant's Foot: The base of the print is flared out and wider than the rest of the model.
Extrusion & Material Flow Failures
- Clogged Nozzle: The flow of filament is blocked, stopping the print.
- Under-extrusion: Not enough filament is being extruded, leading to gaps and weak layers.
- Over-extrusion: Too much filament is being pushed out, causing blobs and a messy surface.
Print Quality & Accuracy Failures
- Stringing / Oozing: Fine, web-like strings of plastic are left between parts of the model.
- Layer Shifting: The upper layers of the print are misaligned with the lower layers.
- Weak Infill: The internal support structure is flimsy or incomplete.
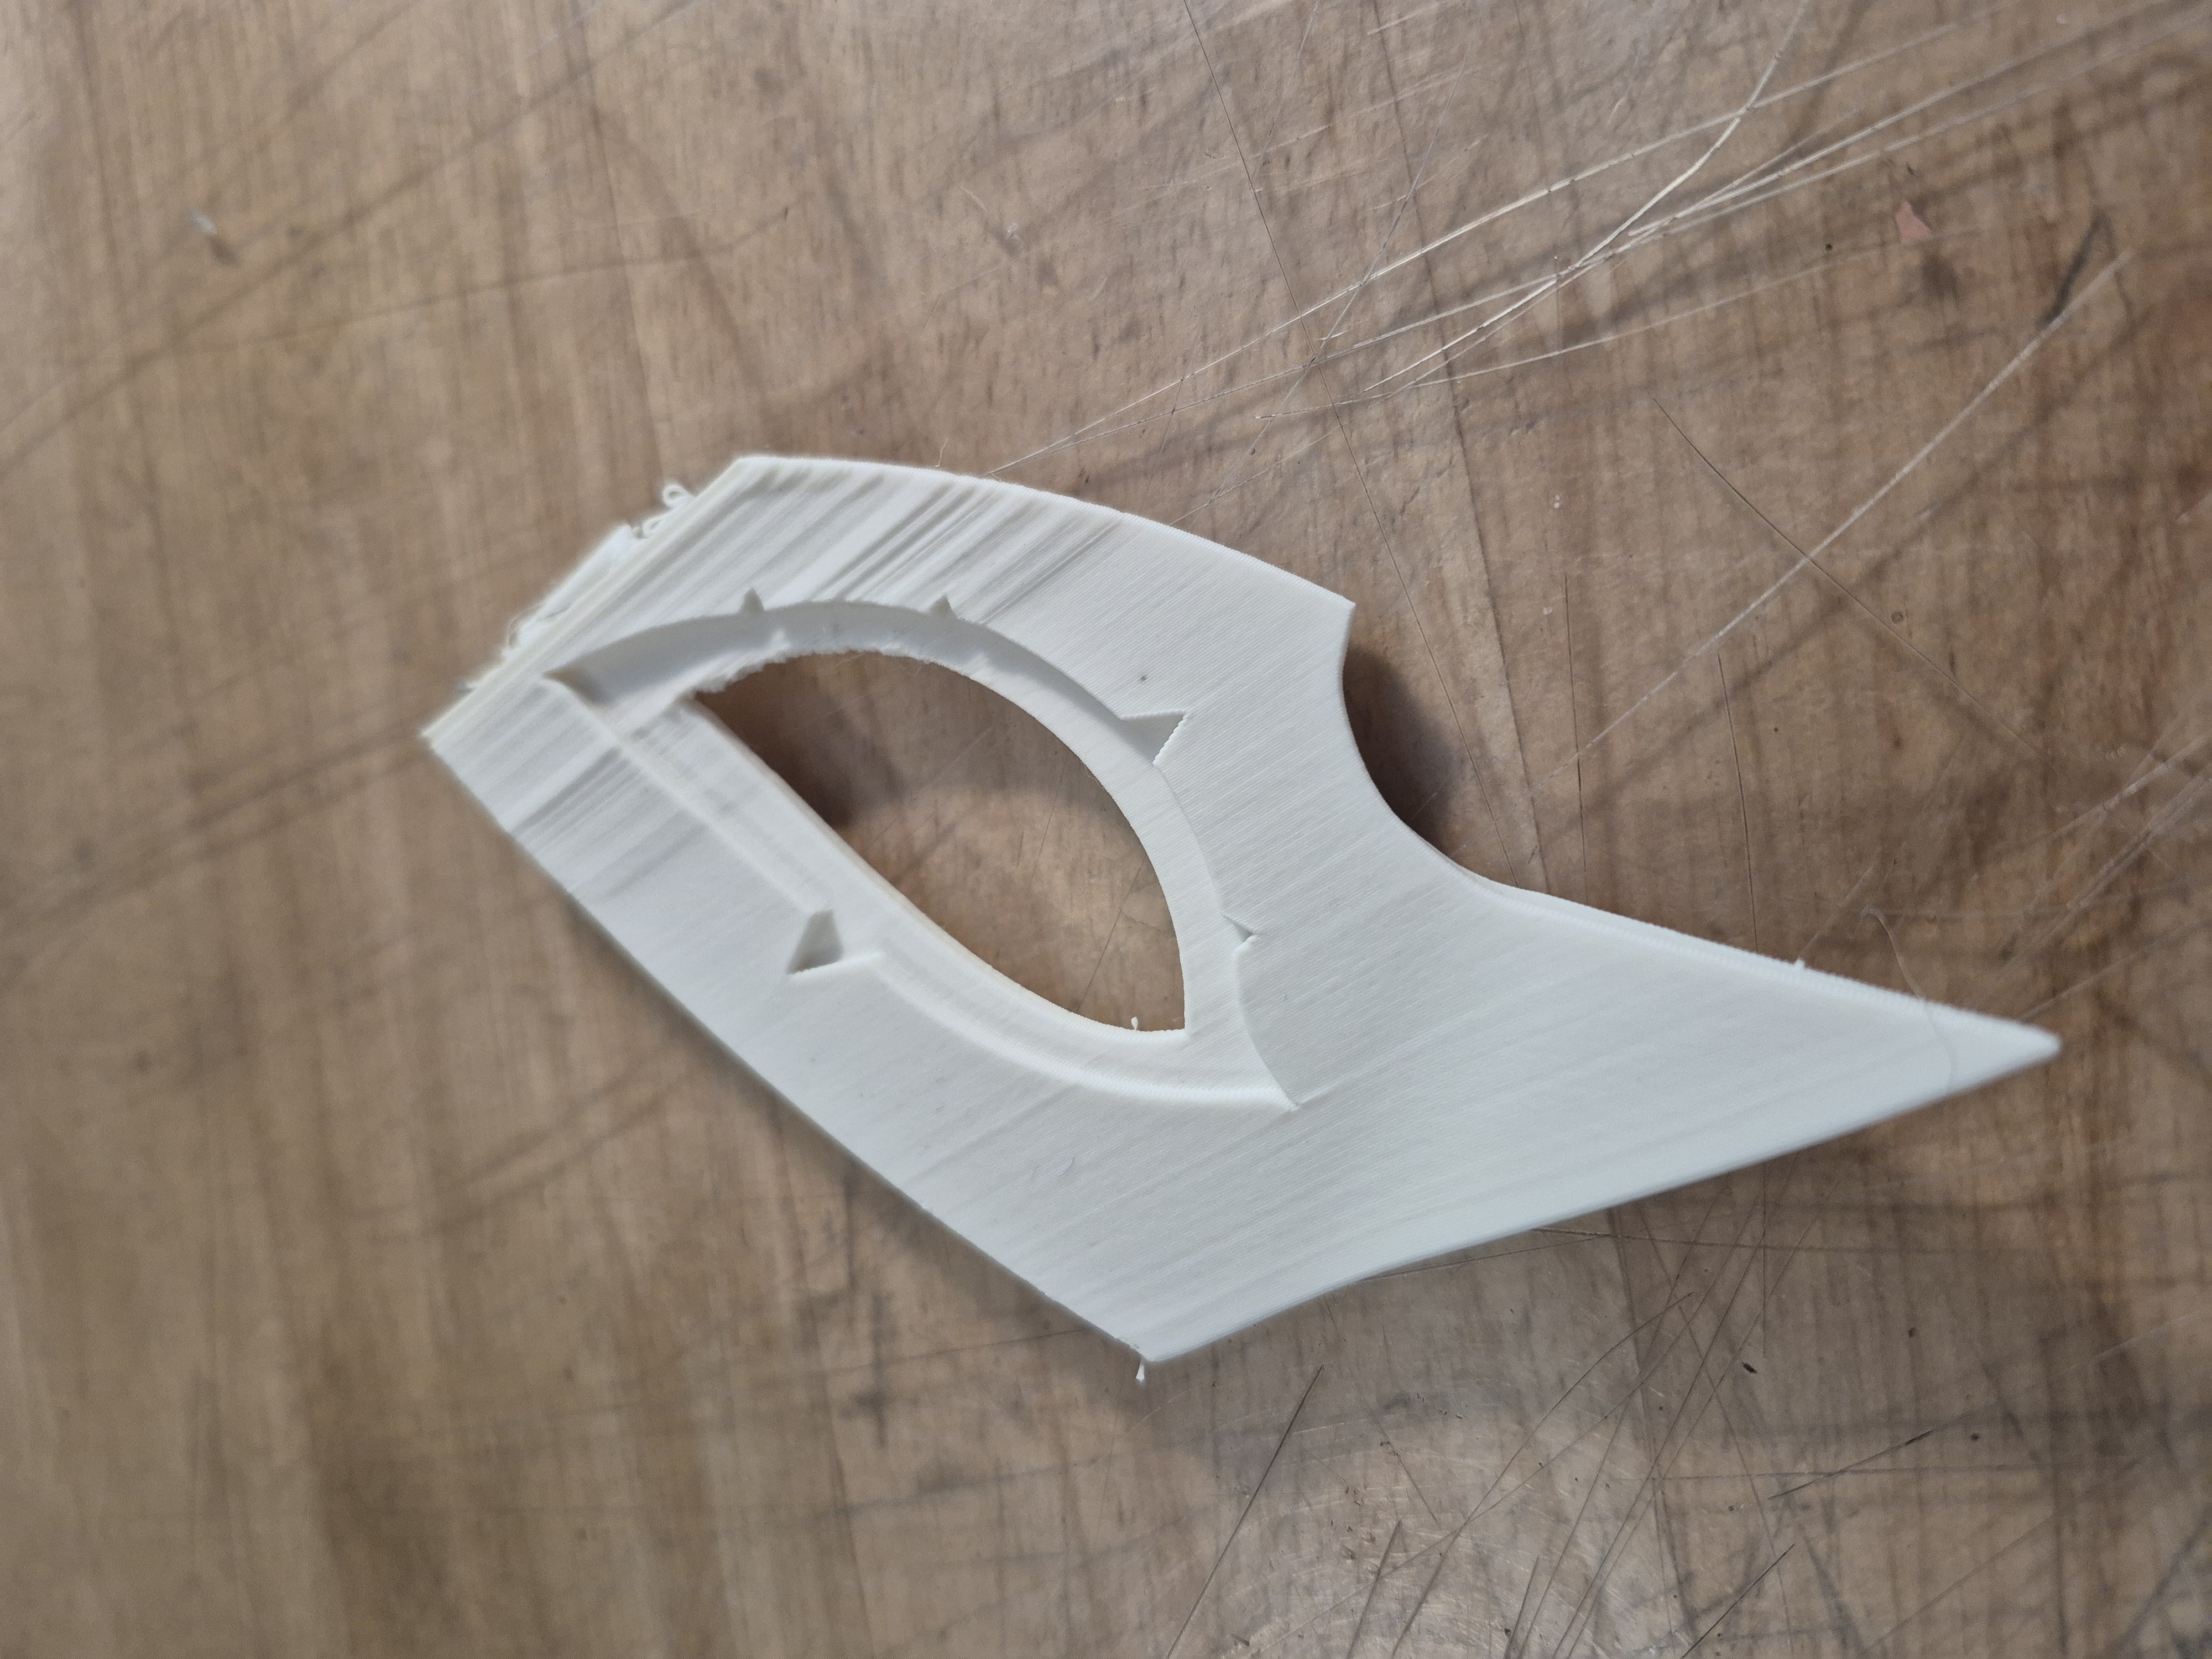
Step 5: Post-Processing & Finishing
Your print is off the bed, but it's not done yet! Post-processing is where you clean up the print and turn it into a finished product. The most common step is removing support structures. After that, there are many ways to improve the surface finish.
Smoothing and Filling
The most time-consuming part of finishing is hiding the layer lines. This involves a lot of sanding!
- Filler Primer: A type of spray paint that fills in small imperfections.
- Bondo / Spot Putty: Automotive body fillers used to fill larger gaps or seams.
- Plastic Welding: Using a soldering iron to melt parts together or smooth surfaces.
- UV Resin: Can be brushed onto a print and cured with UV light to create a perfectly smooth, hard shell.
Painting
Painting is an art in itself. Once your part is properly sanded and primed, you can use spray paints or airbrushes to bring it to life. A popular technique for getting a metallic shine is the graphite method, where you rub graphite powder onto a black base coat.
Resources & Where to Print
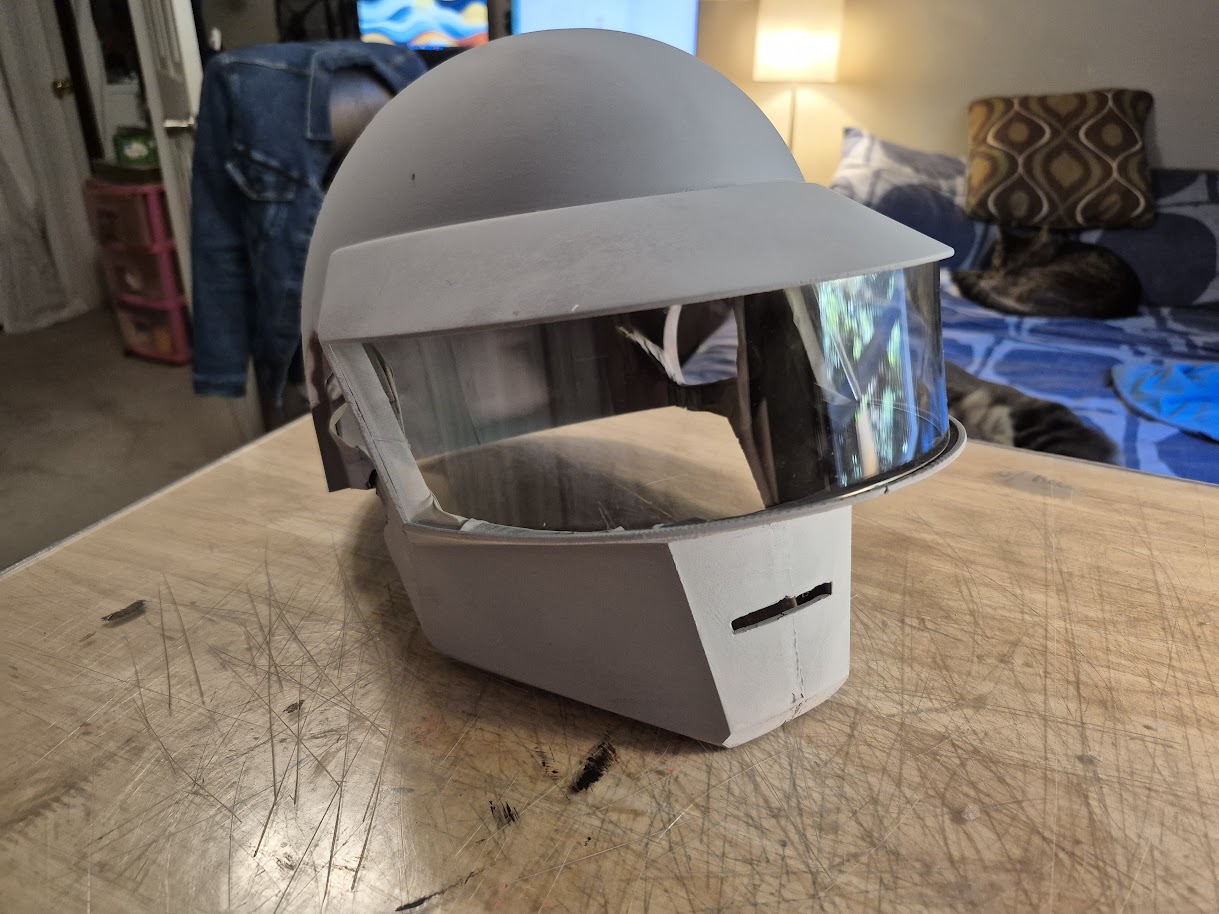
How to Get Models for Armor/Cosplay
If you're interested in making something big like armor, you have a few options:
- Find a model online, either free or paid.
- Model the armor yourself from scratch.
- Extract and modify a model from a video game.
What if I Don't Have a Printer?
You can still get things 3D printed! Here are a few options:
- Online Services: Companies like PCBWay will print your file and ship it to you.
- University/Local Makerspaces: Many universities and libraries have makerspaces with 3D printers available for use.
- Ask a Friend (or Me!): The 3D printing community is often happy to help out.
- Buy One: The best option is often to just dive in and buy your own printer!
There is so much more to 3D printing that we don't have time to cover, but hopefully this gives you a great starting point for your journey! Thank you for your time!